Email Codes - Adding unique codes to email templates
This article explains Uniqodo’s functionality for adding unique codes into email marketing templates. The unique codes are displayed as images in the email being sent and the images are generated dynamically when the recipient opens the email. An example of how the codes are displayed is below.
Best Practice Checklist
- Add the HTML to your email template and make sure the email address placeholder is setting the email address correctly on the image and the link parts of the HTML.
- Test this by sending a test email to multiple recipients and make sure that each recipient receives their unique code
- Add a call to action button next to the unique code image that the recipient should click
- Add a unique code carry-through to all of the links in your email that link to your website (see "Adding codes to other links" section).
- It is important to test one of the unique codes issued in a test email to make sure that the promotion is active and the codes are redeemable and applying the promotion
- The promotion does need to be active in the Uniqodo system for the unique code to trigger the promotion correctly
- You should attempt to enter a code issued in the email in the checkout process to ensure that the codes issued are working correctly
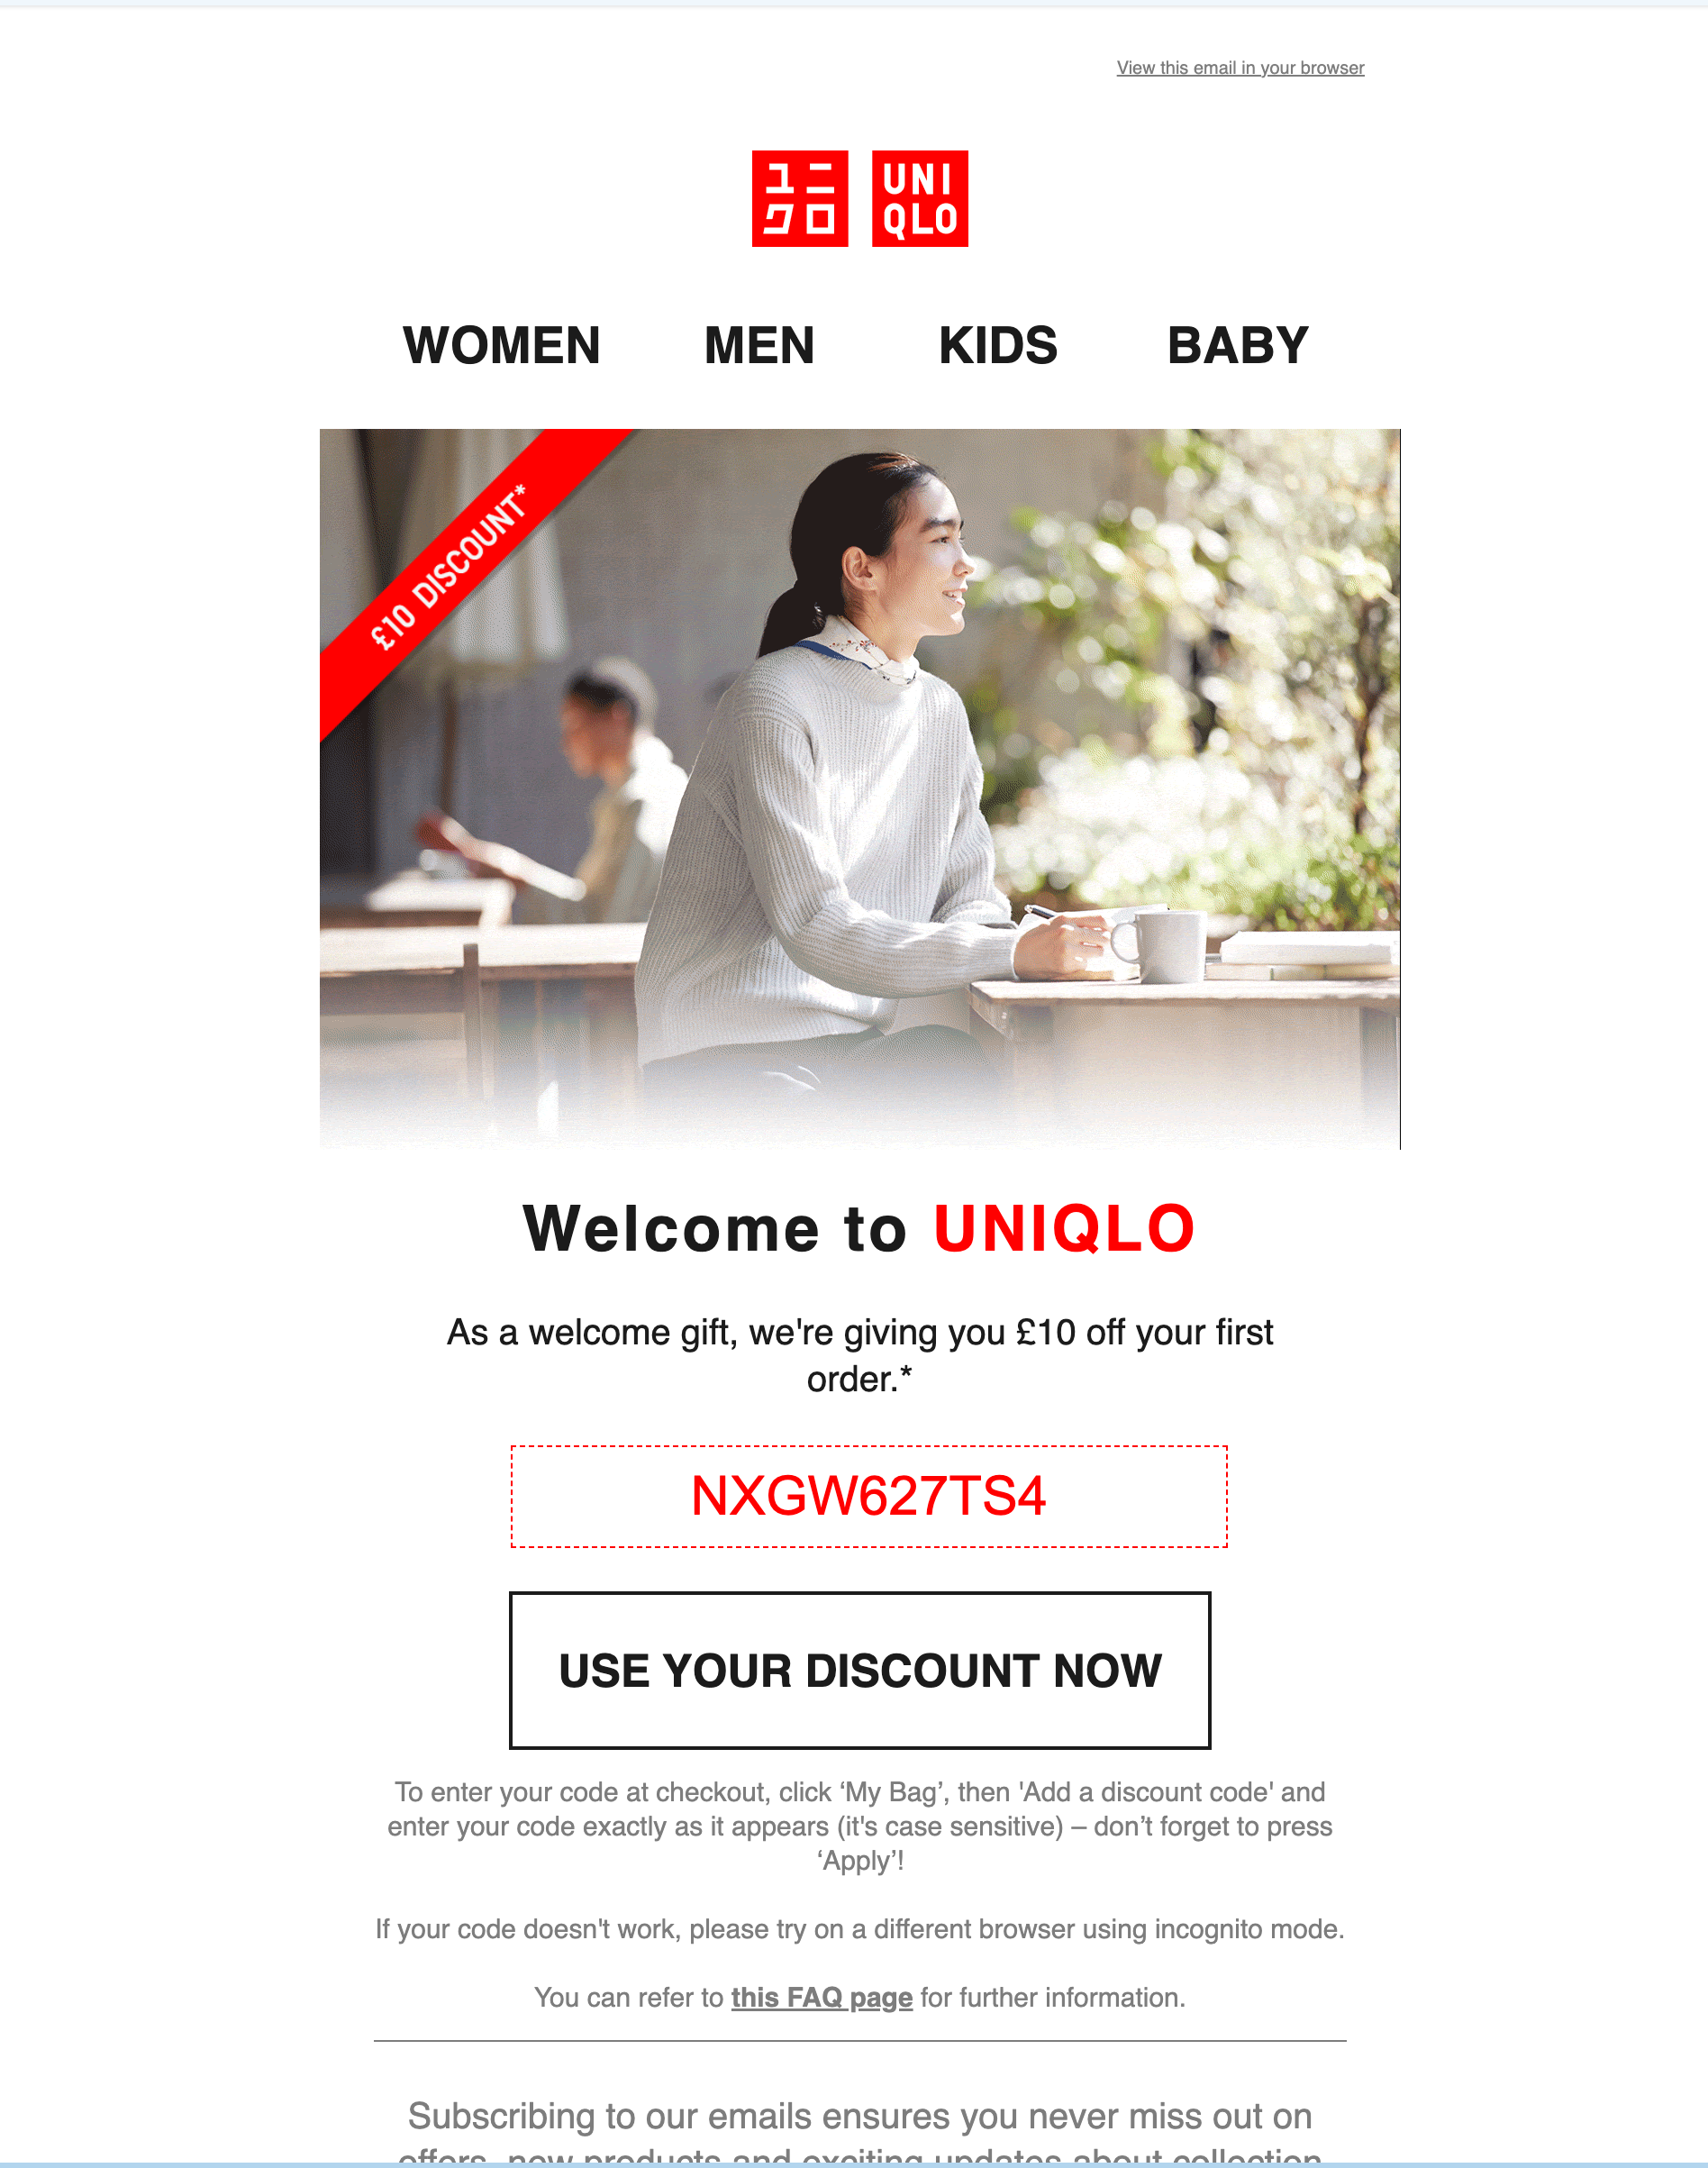
An example of a unique code NXGW627TS4 being issued in an email received by a customer.
Integration
When a promotion is set up on Uniqodo and "Email code" is chosen as the distribution method, an email containing the standard HTML will be sent to the email set against the promotion. This email will also be sent to the user setting up the promotion. The HTML supplied in the email will be pre-set with the promotion ID.
The placeholders in the Standard HTML below are for example purposes to indicate where values need to be placed. When adding this code to your email template you will need to find out and use the placeholders that your own email service provider uses to set the values for the !!!EMAIL!!! and the optional !!!DATETIME!!!.
The standard HTML below should be copied and pasted in to the body HTML of the email being constructed in your email service provider’s platform. The Promo Code HTML should be pasted in to the email body HTML in the position where you wish the Promo Code to be displayed.
Standard HTML
<a href="https://email-code.uniqodo.com/code-claim/click?e=!!!EMAIL!!!&d=!!!DATETIME!!!&p=!!!PROMOTION!!!&u=!!!URL!!!">
   <img src="https://email-code.uniqodo.com/code-claim/email?e=!!!EMAIL!!!&d=!!!DATETIME!!!&p=!!!PROMOTION!!!&u=!!!URL!!!">
</a>
Basic Parameters
The table below explains each parameter and provides an example of value and format.
Parameter | Placeholder | Description | Requirement |
|---|---|---|---|
e= | !!!EMAIL!!! | The email address of the recipient of the email. This value could be a hashed or encrypted form of the email address or another customer identifier as long as it is consistent and unique to each customer. Typically, you would use your CRM system "merge tag" to inject each recipient's email address so that the value is different for each recipient. There are different ways merge tags are used to inject dynamic properties (e.g. customer's first name, email) into an email. The recipient's email address will be used by Uniqodo to ensure each customer gets a different code. e.g. [email protected] | Required |
p= | !!!PROMOTION!!! | The long ID of the promotion being sent to the recipient. This value is sent by email to the distributor and is contained within the supplied HTML. e.g. ac7933005a4bd68ce2994435a9dd1338 | Required |
d= | !!!DATETIME!!! | Optional date and time (in UTC) for when the unique code expiry countdown should start. e.g. 2017-05-30 14:00:00 or 1496745719 (timestamp) If you have set up the promotion such that unique codes expire a certain period after they are generated and independently from the promotion end date then you can use this parameter to specify when the countdown to expiry should start. The default behaviour is for the countdown to start when the customer first opens the email, which is also when the code will be generated. As an example, you may want to issue codes that expire a certain amount of time after the email is sent rather than after the email is opened. You will need to pass the email send time as the value to this parameter. | Optional |
u= | !!!URL!!! | The URL of the destination page that you would like to send the customer to e.g. dedicated offer or product page. This must be a complete and valid webpage URL. e.g. https://www.example.com/category/new-arrivals If this parameter is not passed or is invalid then the customer will be sent to your website homepage by default. | Optional |
Adding codes to other links
Unique codes issued to the customer in the email can be carried through to your website and then auto-filled in the code entry field in your checkout process. This is enabled by ensuring all links in your email that click through to your website are prefixed with the redirect link below. See the table of parameters for placeholder and parameter details above.
https://email-code.uniqodo.com/code-claim/click?e=!!!EMAIL!!!&d=!!!DATETIME!!!&p=!!!PROMOTION!!!&u=!!!URL!!!Example HTML for creating a deep-link that carries the unique code through to the destination URL
<a href="https://email-code.uniqodo.com/code-claim/[email protected]&p=ac7933005a4bd68ce2994435a9dd1338&u=http://www.uniqlo.com/uk/">
Click Here to visit the site</a>
Styling the code image
By default the code image will generate a with black text colour, black border colour and white background colour. These colours can be edited by adding hexadecimal colour references to the image URL.
The parameters and values that can be added to the image src URL are explained in the table below.
| Parameter | Description | Example Value |
|---|---|---|
| tc= | The hexadecimal reference for the colour of the unique code text | 000000 |
| bc= | The hexadecimal reference for the colour of the border | 000000 |
| bgc= | The hexadecimal reference for the colour of the unique code image background | ffffff |
Example
<a href="https://email-code.uniqodo.com/code-claim/[email protected]&p=82430a3b3708138c0bcd410dbdf7e6aa&u=http://uniqodo.com">
   <img src="https://api.uniqodo.com/code-claim/[email protected]&p=82430a3b3708138c0bcd410dbdf7e6aa&tc=5abcae&bc=5abcae&bgc=ffffff">
</a>
Styling the font
Different font options can be passed in the URL. Supported fonts include:
- archivo-narrow
- archivo-narrow-bold
- arial
- arial-bold
- futura
- futura-bold
- lucida-grande
- lucida-grande-bold
- times-new-roman
- times-new-roman-bold
Example
https://email-code.uniqodo.com/code-claim/email?e=!!!EMAIL!!!&p=!!!PROMOTION!!!&tc=e60050&bc=e60050&bgc=ffffff&font=times-new-roman-boldStyling the dimensions
You can use the height and width attributes as outlined below in order to resize the image. It is worth considering the code image ratio too if you intend to amend both attributes.
<img src="https://email-code.uniqodo.com/code-claim/email?e=!!!EMAIL!!!&p=!!!PROMOTION!!!" height="400" width="600" />Inline style example
<img src="https://email-code.uniqodo.com/code-claim/email?e=!!!EMAIL!!!&p=!!!PROMOTION!!!" style="width: 400px; height: 600px;" />One dimension example
<img src="https://email-code.uniqodo.com/code-claim/email?e=!!!EMAIL!!!&p=!!!PROMOTION!!!" style="width: 400px;" />